

We’ve seen increased popularity of plastered walls in Scandinavian homes in the last few years, and highly textured elements are all the rage in interior design at the moment, from 3D sculptural wall art to shag rugs.
This, combined with my new fascination with interiors by Belgian designers such as Axel Vervoordt and Vincent Van Duysen, have me explore materiality and wabi-sabi.

My research led me to Stephen Antonson, a New York-based artist-designer who creates furniture, objects, and lighting with plaster.
I instantly fell in love with the medium. Hand-applied finishes look artisanal, rustic, and absolutely chic. And what a fantastic way to add visual weight, depth, and interest to a room!
But craftsmanship and artistry come at a price (see a few top picks below), but if you are creative and ready to experiment, you’ll find that plaster provides LOTS of opportunities.
Plus, it’s easy, cheap and fun! Virtually anything can be covered in plaster, and you can up-cycle virtually anything in no time. All you need is a box of Plaster of Paris:

It costs about $10 at most hardware stores, and you’ll have more than enough for several DIYs.
Here’s my inspiration, and scroll down below to see how I transformed an old table lamp in about two hours over the weekend.


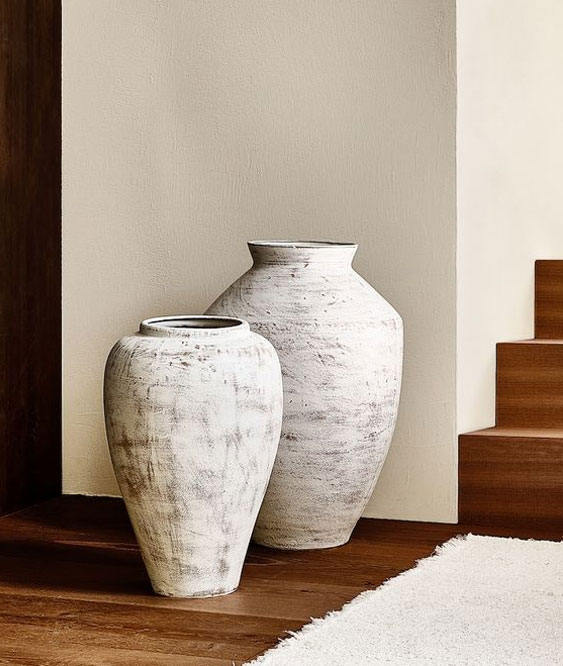

Plaster can be applied to porcelain, glass, ceramic, and wood, among others. It’s a great way to give a second life to an object you would have otherwise thrown away. You can also score a fab find on Craigslist or Facebook Marketplace, just like I did! Scroll down below for my own DIY.


Is it a table? Is it a sculpture? Both! Even furniture can be covered in plaster for a shapely silhouette and tactile finish. Tip: A coat or two of clear polyurethane will be required on furniture to protect the surface.
Here you can find a few tips on how to build your own plaster console table.
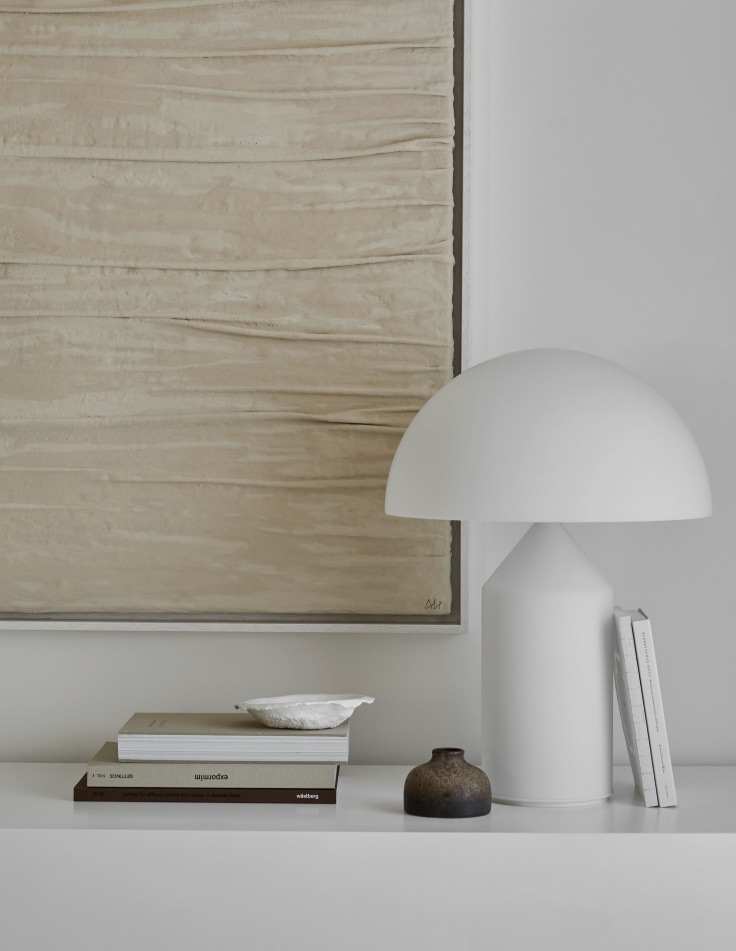


Swedish artist Anette Hällback creates her statement-making pieces using plaster – She likely pours several thin layers over drapery or uses a silicone cast (something like this).


Abstract art can also be created with plaster using spatulas on canvas or wooden boards, as shown above.


A plaster coffee table is quite versatile and fits in many interiors, as seen in the pictures above – One table, three styles.

I’m inspired by these delicate, organic vessels! I found this tutorial on how to make thin bowls with bandages – I’d probably add a thicker layer of plaster to completely cover the fabric, but there is surely something interesting in seeing that fabric texture.


Even simple geometric shapes can make interesting and easy sculptures to use for decorative vignettes. You can find similar blocks on Aliexpress or at your local arts & crafts store. You can also make them yourself or, if you prefer to upcycle, old children’s building blocks could do the trick.

Create 3D abstract wall art by gluing together cutouts of foam board insulation sheets, available at most hardware stores, and lather with plaster. Use fine sandpaper for a smooth finish.


Don’t have the budget to buy a sculpture to display on a plinth? Make one inspired by these minimal pieces! Use cardboard, wood or foam board insulation sheets.


My next DIY project: Trying to replicate something similar to these one-of-a-kind sculptures, spotted at Copenhagen art gallery Alium.
I found simple instructions for plaster balloon sculptures, I might initiate the whole family to my creative endeavor :)
Want the look but not the DIY?

Sources:
1. Zanzibar low round plaster accent table, $690
2. Mid-Century Scout smooth plaster square coffee table, $1350
3. Sculpture 02, Atelier CPH, $500
4. The Hugo white raw plaster decorative bowl, $74
5. Plaster cone lamp, Rose Uniacke, $2000
6. Lemieux et Cie Baron side table, Anthropologie, $498
7. Hebe lamp in off white, Ferm Living, $250
8. Willy White plaster pedestal side table, Crate & Barrel, $299
9. Candlesticks, Stephen Antonson, from $550
10. Custom pair of Gaston sconces, $8500
After seeing these price tags, aren’t you tempted to give this DIY project a go? ;)
My DIY Pottery Lamp
The Inspiration:

Before & After:

The steps:


I found this lamp on Facebook Marketplace for $8. What mattered most to me was the conic shade and the shape of the base. I wish it was larger to create a real statement lamp, but it was perfect for my first attempt at this DIY.

My first step was to clean the base and remove any remaining stickers (an ancient Ikea label was still glued to it). I used painter’s tape to protect the wire, pipe, and socket, and quickly applied a primer. This step is important – It will provide better adhesion, especially on a smooth, glossy surface.
I used Kilz Premium High-hide stain-blocking sealer, as shown in the picture above, but mainly because that’s what I already had at hand. Something like this could have been sufficient.

Once the primer was dry, I prepared my Plaster of Paris, put on latest gloves, and applied the mixture with my hands. You could also use a spatula or even a paintbrush depending on your plaster’s thickness and desired texture.
It is super easy to use – Just add water to create the desired consistency. I didn’t follow the recipe on the packaging but went with something that felt easy to apply.
Just remember to move quickly since Plaster of Paris dries real fast, within 5 to 10 minutes. I kept a wet sponge to wipe the surface and I occasionally dipped my fingers in a bowl of water to keep the consistency creamy and workable.

This is what is looked like after a second coat.
In hindsight, I could have applied a thinner first layer; that would have saved me a few minutes of sanding. I highly recommend you do so outside and wear an N95 facemask because it makes a massive amount of really fine white dust.

I wanted my lamp to look antiqued, so I painted the base with a *very* diluted mix of acrylic paint in black and brown. Watercolor probably would work, too. Once dry, I sanded down a few places where I found the stain too dark.
That’s a big perk of Plaster of Paris: If you are not happy with the color or texture, you can always strip, carve, sand, or paint again!

The last step was to paint the shade because it was too yellow for my taste, and a fresh coat of white would make it look new again. I used a chalked paint in linen white, for an ultra-matte finish. I love the subtle texture it gave the shade. Plus, this product doesn’t require a primer, so it saved me an additional step.
The result:


Et voilà!
It is more classic than what I usually go for, but I am pretty pleased with the result. And it was so easy and fun to do, I am definitely plastering something else real soon!
Warning:
Never attempt to encase a body part in a bucket of plaster! You could end up with severe burns and even require amputation. “The chemical reaction that occurs when plaster is mixed with water is exothermic. When plaster sets, it can reach temperatures of more than 60 °C (140°F) and, in large volumes, can burn the skin.” – Source
Make sure to read the instructions on the Plaster of Paris box.
If you’ve enjoyed this article, do not hesitate to let me know by sending an email to [email protected] or by posting in the community!
Frist photo: Mikael Lundblad